Products
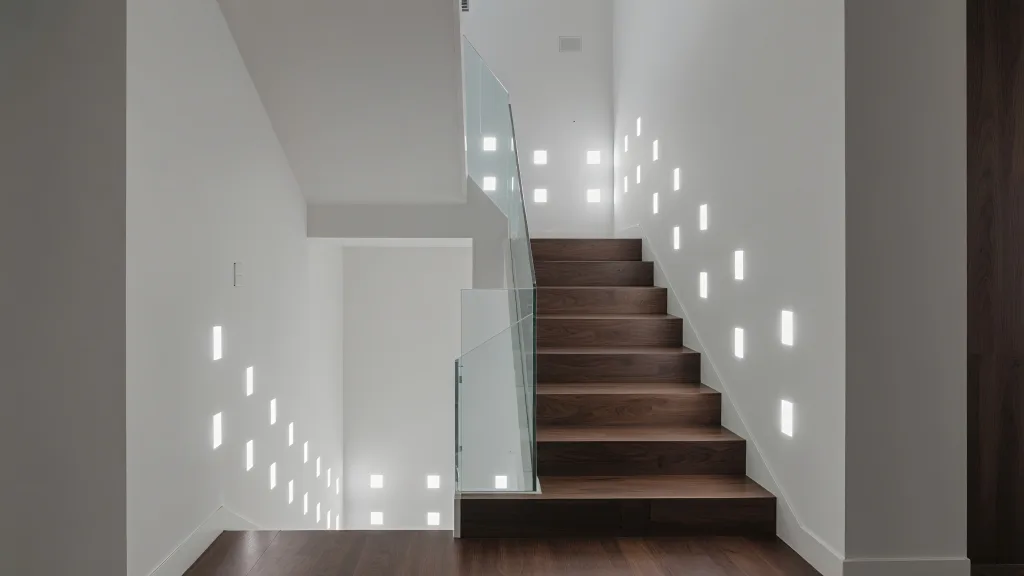
Staircases aren’t only a way to move between floors—they can also be a stunning design feature in your home or commercial space. Adding LED stair lights not only improves visibility and safety but also enhances the overall ambiance. Whether you want a sleek, modern look or a subtle glow, installing LED stair lights is a project you can complete with some basic tools and planning. In this guide, we’ll walk you through the entire process step by step.
Before diving into installation, it’s worth understanding the benefits of LED stair lights:
These advantages make them a smart investment for both residential and commercial properties.
To start, prepare the following:
Having everything ready ensures a smooth and efficient installation process.
First, decide where the lights will be installed. You can mount them on the wall beside each step, directly onto stair risers, or underneath stair treads for a floating effect. Mark the positions with a pencil, making sure spacing is even for a professional finish.
If you’re connecting the stair lights to your home’s electrical system, switch off the main power supply before handling wires. Run the wiring along the marked positions, keeping cables hidden and secure. For a simpler option, consider wireless or battery-powered LED stair lights.
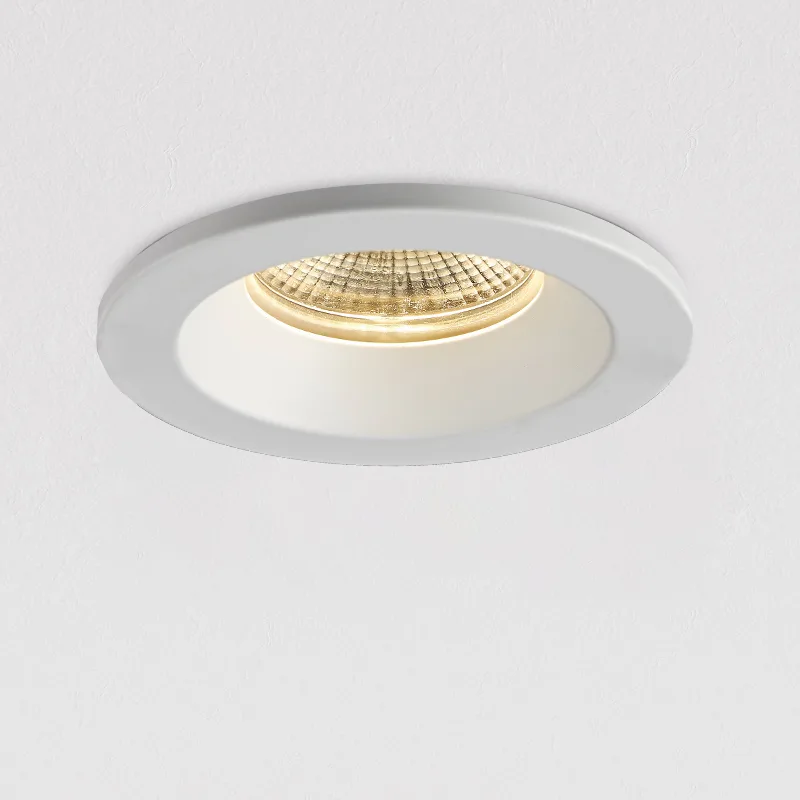
Use a drill to make holes at the marked points. Carefully mount each LED fixture using screws, ensuring they are aligned and firmly attached. If you’re using adhesive-backed LED strips, press them firmly along the stair edge.
Connect the LED lights to the power supply. For wired systems, attach wires with connectors and secure them with electrical tape. If your kit comes with a controller or motion sensor, install it according to the manufacturer’s instructions. This allows the lights to turn on automatically as you approach the stairs.
Turn the power back on and test each stair light. Check for brightness, even distribution, and functionality. Adjust any loose fixtures or wiring if needed.
Once the lights are working properly, tidy up by concealing wires and ensuring all screws are flush. Consider using trim covers or cable organizers to maintain a clean, modern appearance.
LED stair lights require minimal upkeep, but here are a few tips to extend their lifespan:
Installing LED stair lights is a practical and stylish upgrade that enhances safety while adding sophistication to your home. With careful planning and proper installation, you can enjoy energy-efficient lighting that brings out the best in your staircase. Whether you choose a warm glow for a cozy atmosphere or bright white for a modern look, LED stair lights are an investment worth making.
INQUIRY