Products
Installing waterproof LED downlights requires more than cutting a hole and connecting wires. It demands careful planning, attention to safety standards, and proper installation techniques to ensure long-term reliability and protection against moisture. This guide provides essential tips to help you install waterproof LED downlights safely and effectively.
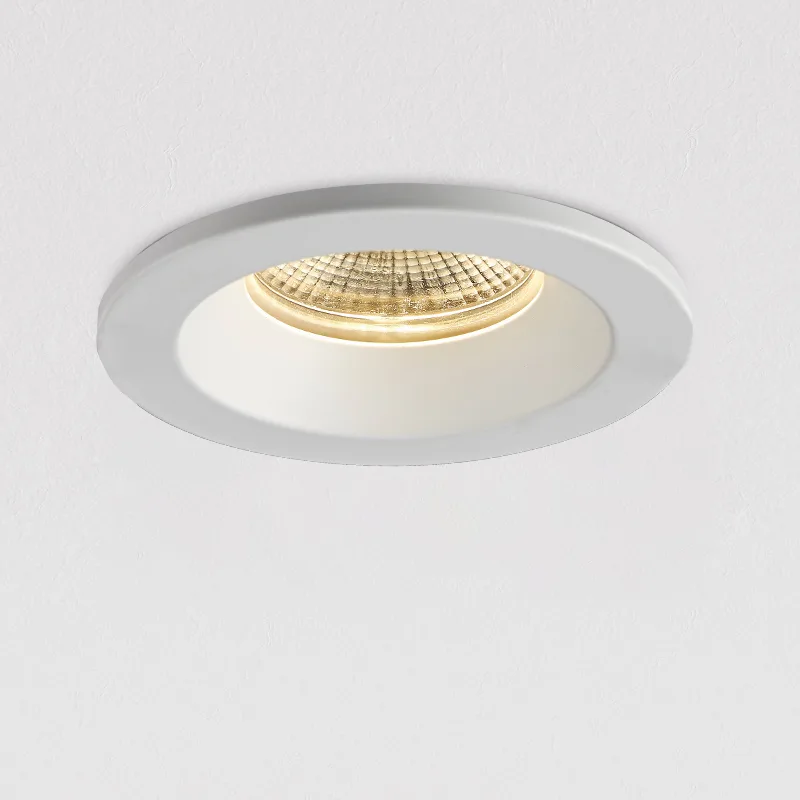
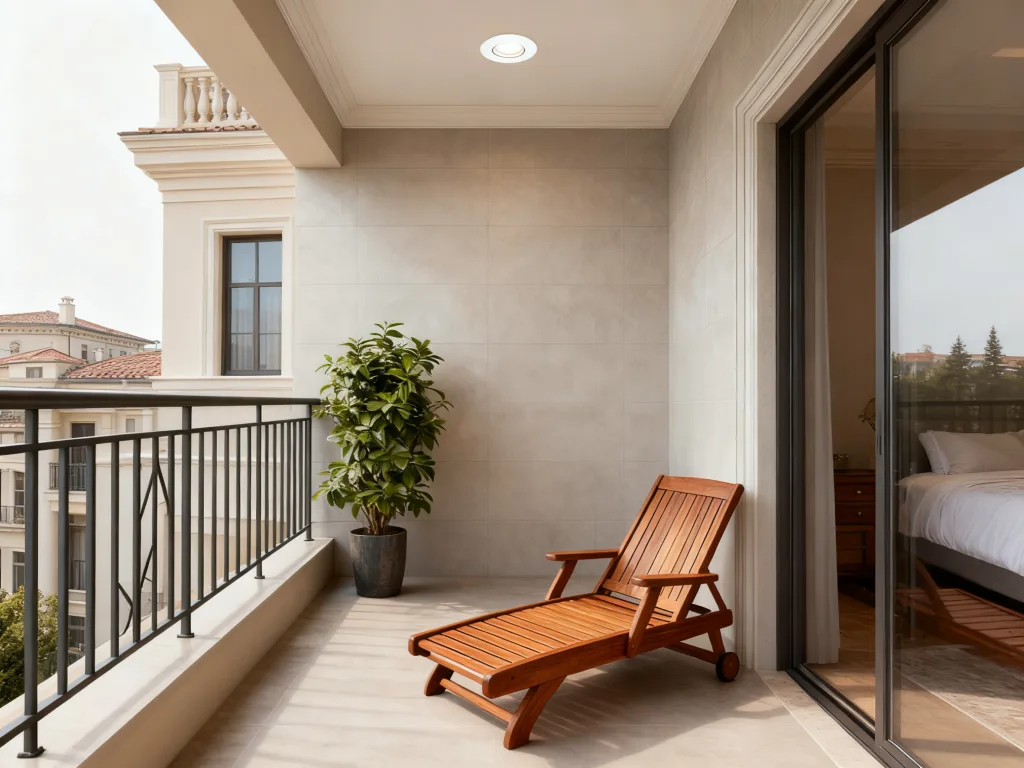
Waterproof LED downlights, typically rated IP65 or higher, are designed for environments exposed to humidity, steam, or splashing water. They are ideal for bathrooms, kitchens, outdoor soffits, and other damp areas. These fixtures combine safety with aesthetics — providing bright, energy-efficient illumination while preventing damage caused by water ingress, corrosion, or dust accumulation.
High-quality waterproof LED downlights also feature adjustable angles, dimmable options, and anti-glare designs, making them suitable for both residential and commercial lighting projects. By choosing the right model, you can ensure durability, efficiency, and long-term peace of mind.
Before starting, confirm the product’s ingress protection (IP) rating. For most indoor damp areas, an IP65-rated downlight is sufficient, offering complete dust protection and resistance to low-pressure water jets. For outdoor or more exposed installations, consider IP66 or IP67 fixtures for added protection.
Inspect the ceiling cavity and ensure there’s adequate space for the downlight housing, driver, and wiring. Maintain safe distances from insulation and other flammable materials to prevent overheating.
Always turn off the power supply at the circuit breaker before installation. Use a non-contact voltage tester to confirm that wires are not live. Wear gloves, safety glasses, and a dust mask to protect yourself from sharp edges or ceiling debris.
Every waterproof LED downlight comes with specific installation details. Pay attention to how gaskets, seals, and O-rings should be placed to maintain the waterproof barrier. Check the driver’s wiring diagram, especially for dimmable models, to ensure compatibility with your lighting system.
Use the installation template provided with the downlight to mark the exact cutout area. Cut the opening carefully with a hole saw or drywall cutter. A clean, accurate cut ensures a secure and watertight fit.
Pull the electrical supply cable through the ceiling hole. If the downlight includes a separate driver or junction box, position it securely in the ceiling cavity and connect it according to the wiring diagram.
Before inserting the fixture, make sure all gaskets and O-rings are properly positioned. These components are critical for maintaining waterproof performance. Tighten any mounting screws evenly to avoid gaps or distortions in the seal.
Connect the live (L), neutral (N), and earth (E) wires to the corresponding terminals inside the junction box. Use certified wire connectors to ensure a solid, insulated connection that won’t loosen over time.
Gently push the downlight into the ceiling opening. Spring clips or torsion arms should lock the fixture securely in place. Verify that it sits flush with the ceiling for a professional finish and proper sealing.
Once installation is complete, restore power and test the fixture. Confirm that the light operates correctly and check for flickering or dimmer compatibility issues.
Over time, rubber gaskets and seals may degrade. Inspect them annually, especially in areas exposed to frequent temperature or humidity changes. Replace any worn or cracked seals promptly.
Proper room ventilation helps reduce condensation inside or around the fixture. In bathrooms or kitchens, use exhaust fans to maintain balanced humidity levels.
Use a soft, dry cloth to wipe the downlight trim. Avoid using liquid cleaners or sprays directly on the fixture, as this may compromise the waterproof barrier.
Check for signs of excessive heat, such as flickering, discoloration, or early failure. Good ventilation and correct spacing around the fixture help maintain optimal performance.
By following these essential tips, you can safely install waterproof LED downlights that deliver reliable, long-lasting illumination in any damp or outdoor environment. Proper planning, accurate installation, and routine maintenance not only enhance safety but also maximize the performance and lifespan of your lighting system.
Whether you’re lighting up a modern bathroom, kitchen, or patio area, investing in quality waterproof LED downlights ensures both safety and style for years to come.
INQUIRY